When it comes to cleaning your interior, getting the carpets and seats spotless can sometimes be tricky. Throughout this article, we will look at a few helpful tricks when removing crumbs and debris from your carpet.
To remove all debris and crumbs from your car’s carpet, start with a quick vacuum to remove any loose debris. Once vacuumed, use compressed air or a brush to agitate the carpet fibers throughout the vehicle. Use compressed air between the seats, and in hard-to-reach places. Often any debris will break free with agitation, allowing a vacuum to get your carpet fully clean.
Keep reading for a detailed breakdown of tips for removing crumbs and debris and the best way to clean your carpet!
1. Compressed Air Agitation “Blow Out”
For stubborn debris caught in the carpet and seat fibers, I have found that agitating the surface with compressed air is the best option. This agitation will quickly free the debris from the fibers, making it easier to vacuum. This “blowout” is done using a standard air tip on a compressor, but I recommend the Tornador Blow Out Tool. This tool spins while blowing, making it great for removing dirt and other stubborn debris. The Tornador Blow Out tool is my go-to when I have a carpet that is not getting clean enough or crumbs in a tight area.
To use compressed air to agitate seats and carpets start with a quick vacuum to remove any free debris and prevent dust from distributing throughout the vehicle. Once vacuumed, begin blowing the carpet out with either a standard air tip or a blow-out tool. This process will loosen the debris caught in your seat and carpet fibers. Once agitated, vacuum up loosened debris. Repeat this process until no debris remains on the carpet.
Another use for compressed air is blowing out any hard-to-reach areas. Often if there were any spots in a vehicle that my vacuum would not fit, I would blow all of the debris out somewhere I could vacuum it. This includes between the seats and the seat bolts.

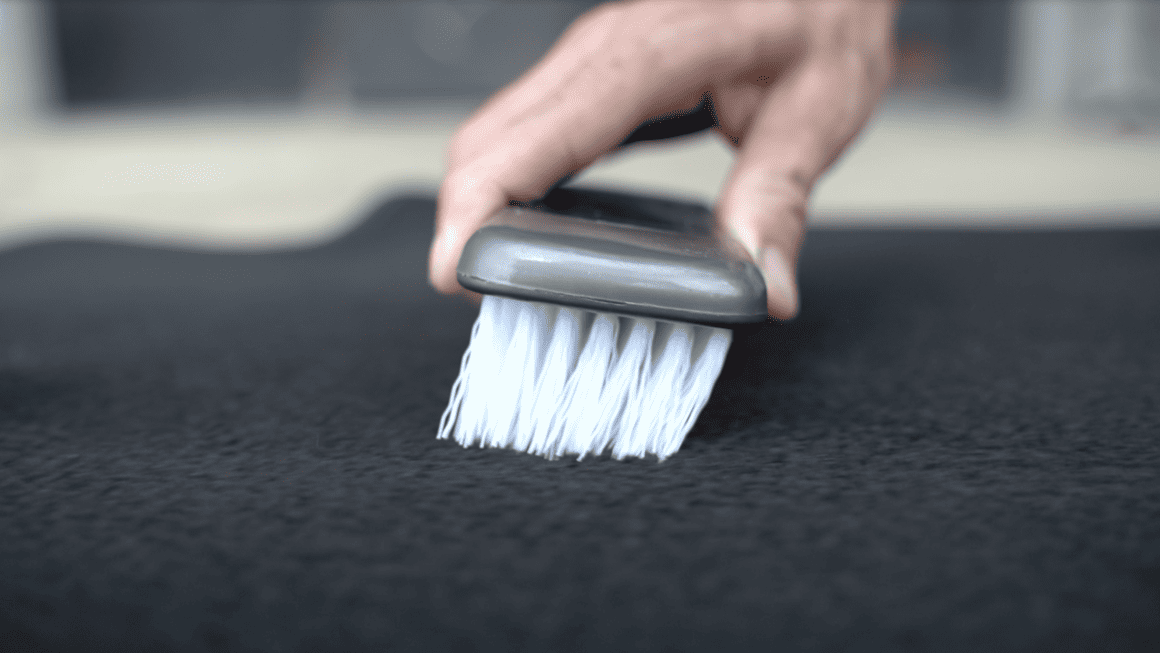
2. Brush Agitation
Brush agitation can be done using a detailing brush or a drill brush. Agitation with a detailing brush or drill brush will loosen up any debris caught in the fibers, allowing you to vacuum it up. It is best to vacuum before using a brush to minimize dirt and dust from being dispersed throughout the vehicle. This process can be done on seats and carpets with debris that is caught in the fibers of the carpet throughout the vehicle.
Smaller detailing brushes can be used in tight spots to move debris in spots the vacuum can’t get when compressed air is not available. Simply brush the carpet in the direction you want the debris to move, and vacuum up. This comes in handy near the seat bolts and center console with caked-on debris that the vacuum will not remove. If the brush itself is not enough to remove the debris, detailing spray or APC can be sprayed on the stubborn spot.
3. Stubborn Spots
For stubborn spots on your carpet with caked-on debris or grime, these areas can be attacked with your interior detailing spray, carpet cleaner, or an APC. Remove the spot with a mist of detailing spray or APC, and agitation with either a brush or microfiber. Once agitated, blot dry with microfiber and vacuum. This process will free the debris from the carpet, allowing your vacuum to suck it up. This process should almost remove all debris, but further shampooing may be necessary to remove all stains.
4. Pet Hair removal tool
If you have ever tried to remove pet hair from a carpet, you will know it can be tricky with just a vacuum. Hair tends to get caught up in the fibers of the carpet, making a rubber hair removal tool your best option. These brushes allow you to push all of the hair into one pile, for easy vacuuming.
There are several pet hair removal tools available on the market. Two of the biggest factors when picking a pet hair removal tool are durability and compactness. For this reason, I recommend the Lilly Brush. With a ridged rubber edge, the compactness of the Lilly Brush allows you to remove pet hair from all of the tight places in your vehicle.
If you are removing pet hair regularly there are also rubber-coated vacuum attachments that are made for removing pet hair and debris such as the Free Fang PRO2. Acting like vacuum dog brushes these attachments help grip debris, freeing it from the carpet’s fibers. For best tool duration window cleaner can be applied onto the carpet as a lubricant before vacuuming.
5. Vacuum Attachments
When it comes to vacuuming, I recommend using a crevice tool to maximize suction and remove debris. Using this attachment I typically vacuum in a back-and-forth motion while applying moderate downward pressure. I have found that applying downward pressure while vacuuming helps loosen up stubborn debris and leaves you with a cleaner carpet.
For striping or cleaning large areas that are relatively clean a flat carpet cleaning attachment may be desired. These attachments clean a larger area at once but have a weaker suction and will remove less debris. For this reason, these attachments are also optimal for a final clean-up vacuum.
6. Floor Mats
When it comes to floor mats, I like to remove all of them when I begin cleaning the vehicle and deal with them last. This allows me to clean them and place them back into the clean car once finished.
For really dirty floor mats, you can use a hose and carpet shampoo/laundry detergent to deep clean them. wet the carpet, add soap, agitate, and rinse off. It is important to make sure you rinse all of the soap out of the mat before drying. You can rinse carpeted floor mats with a power washer if available. To dry the floor mats hang them by a corner and allow them to drip dry for three to six hours.
Agitation and vacuuming should be all the average floor mat needs. This process typically starts with a quick vacuum followed by a beat out. To beat the carpet hold the top and hit it with a broom handle or vacuum. Beating the carpet can remove dust and dirt that the vacuum will not pick up. Once beaten, follow with a deep vacuum, and brush or air agitation if needed.
7. Car Seats
Car seats are one of the biggest obstacles in the way while trying to vacuum your vehicle. For the deepest clean, you can remove the car seats completely. This can be done by removing all four seat bolts with a socket or hex wrench. Once the bolts are removed carefully remove the seats out the door and place them in a clean area. When removing the seats from the vehicle be careful not to knick any of the interior or paint.
An alternative to removing the seats is using the crevice tool and moving the seats around to get in all of the tight spots. Start in the front of the vehicle move the seats all the way back and vacuum everywhere possible. Once finished up front, move the seats all the way forward, allowing you to vacuum tight places in the back.
8. Lighting
Often overlooked, working in a dimly lit vehicle will cause you to miss dirt and debris when vacuuming. If possible work in a fully lit garage. If you do not have access to a well-lit area, I recommend working with a flashlight or waiting until you can work in a well-lit area.
Thanks!